One Person Installation
Lightweight composite sleepers and decking are easy to lift, carry and fit into place — no extra hands or heavy equipment required.
 Proudly Australian
Ezzy Fit composite sleepers and decking are engineered to be light enough for one person to install, with guided video instructions that walk you through every step — so your finished project looks like a professional built it.
Everything about Ezzy Fit is designed to make DIY installation straightforward — no heavy machinery, no guesswork, no compromise on the finished result.
Lightweight composite sleepers and decking are easy to lift, carry and fit into place — no extra hands or heavy equipment required.

Follow our detailed installation videos for retaining walls, fencing and decking, with every step shown before you pick up a tool.

Pre-engineered components fit together precisely, giving your finished project a clean, professional look every time.
Enter your wall and fence dimensions to get an indicative materials list — sleepers, posts, courses and panels — before you start your build.
Watch each installation video next to its matching step-by-step breakdown, so you know exactly what to do before you start digging.
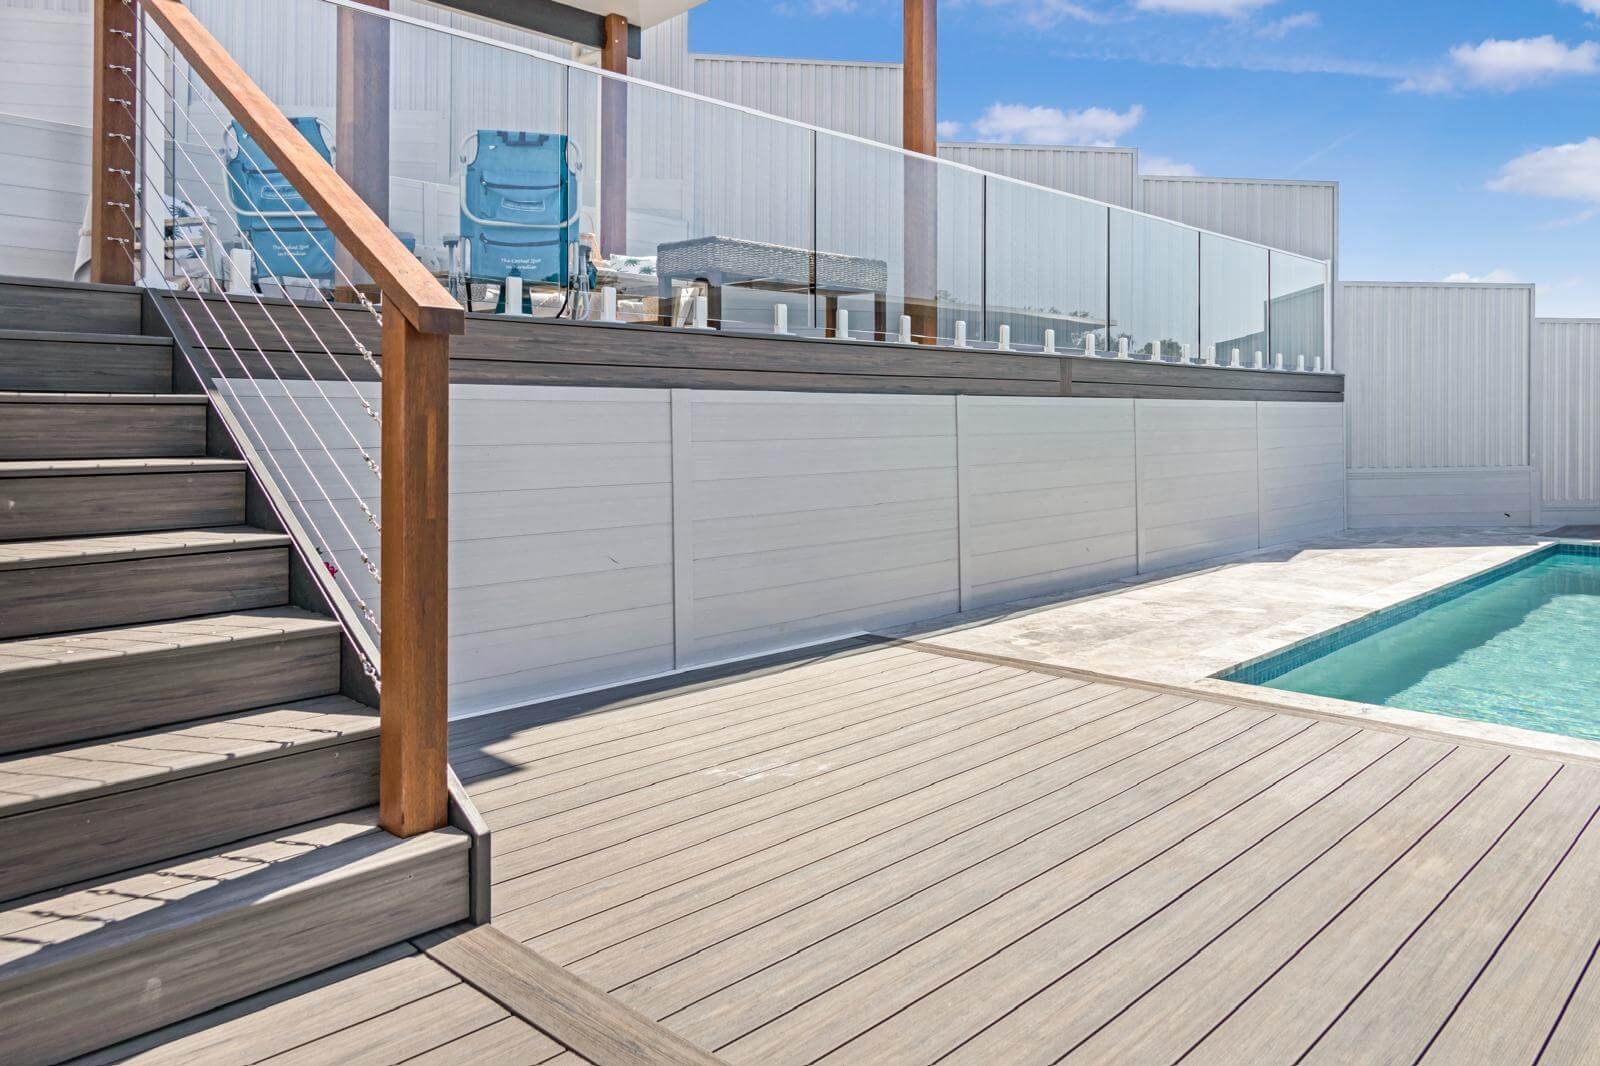
Measure and mark the planned wall location using stakes and string. Ensure proper alignment with your property boundaries and any necessary permits.
Drill holes for posts at regular intervals according to your wall design specifications. Depth should match the above-ground portion of the post or follow your engineer's specifications.
Place each post in the hole, ensuring a 40 mm setback for every additional metre of wall height.
For walls over 1 metre in height, it is recommended to wait 7 days before applying lateral soil pressure, or follow the specifications provided by a qualified engineer.
Slide composite sleepers into place between the posts, following the manufacturer's recommended installation pattern for your wall height.
Place geo fabric and 100 mm of drainage gravel at the base of the wall. Position the ag pipe on top of the gravel, then cover it with additional drainage gravel up to the level of the second top sleeper.
Ezzy Fit videos are a general guide only.
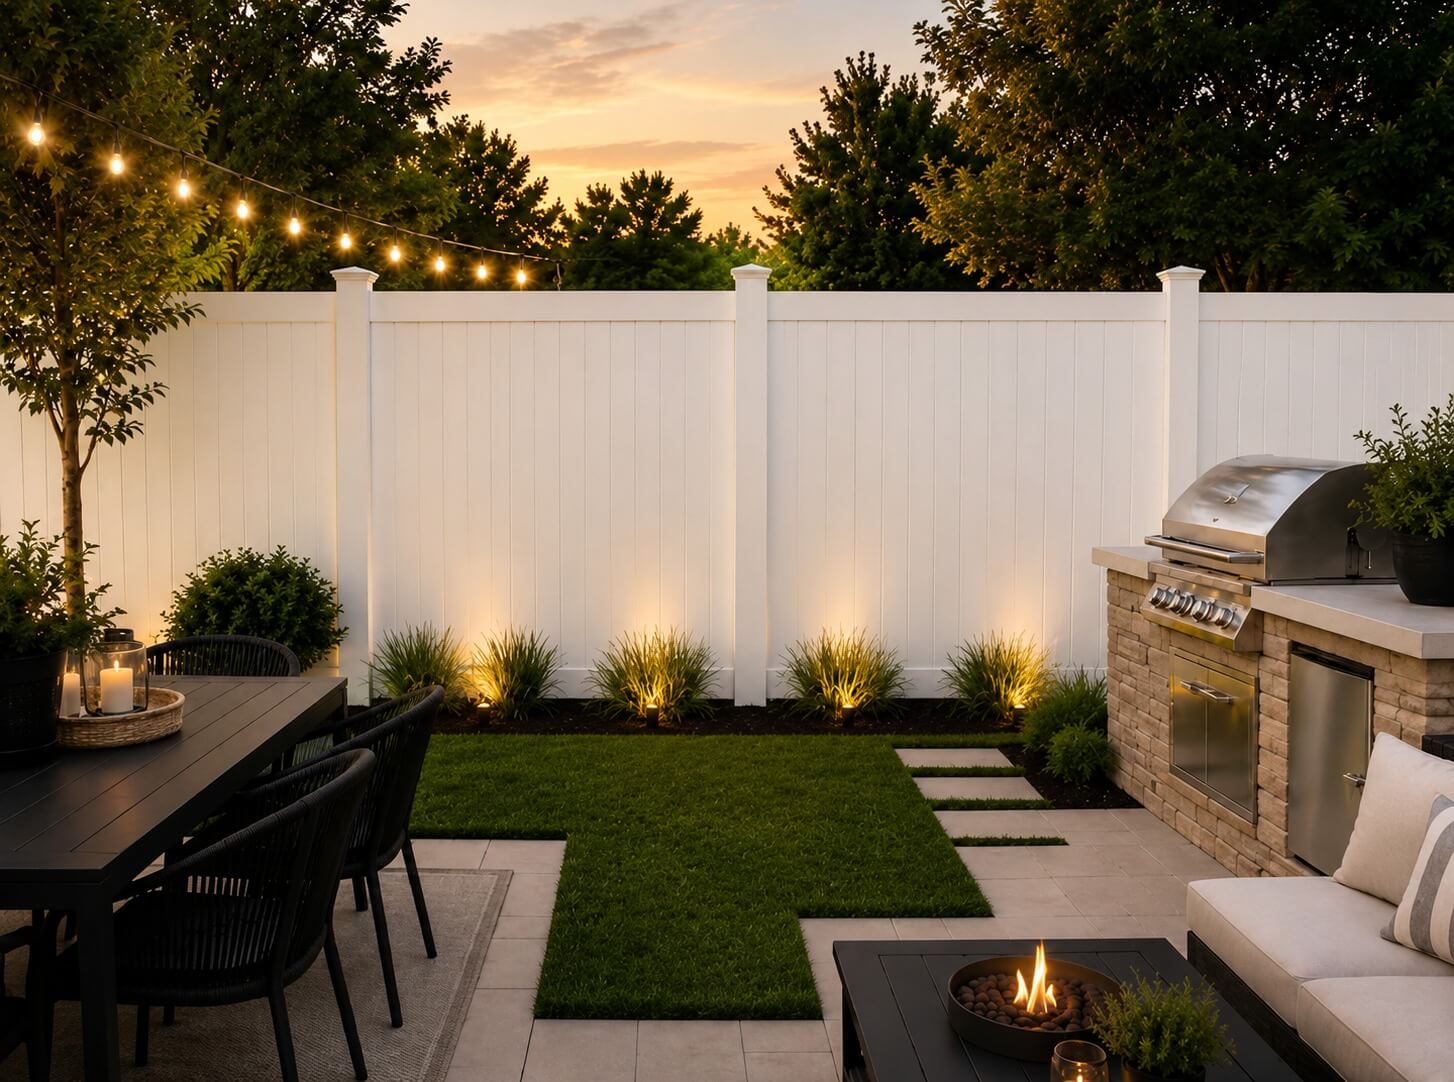
Measure and mark the fence line using stakes and string, keeping it straight and following your property boundaries. Space post locations evenly, typically 6-8 feet apart.
Using an auger or post hole digger, create holes at your marked locations — around 1/3 the length of your posts and 3 times the post width in diameter.
Place posts in the holes, ensuring they're plumb using a level. Brace them temporarily and check alignment with string so all posts sit in a straight line.
Pour quick-set concrete around each post, sloping it away from the post to shed water, and allow it to cure fully before attaching any fencing.
Attach horizontal rails between posts, then secure fence sheets to the rails with rivets, working from one end to the other and checking alignment as you go.
Ezzy Fit videos are a general guide only.
Simple installation. Strong protection. A polished finish.
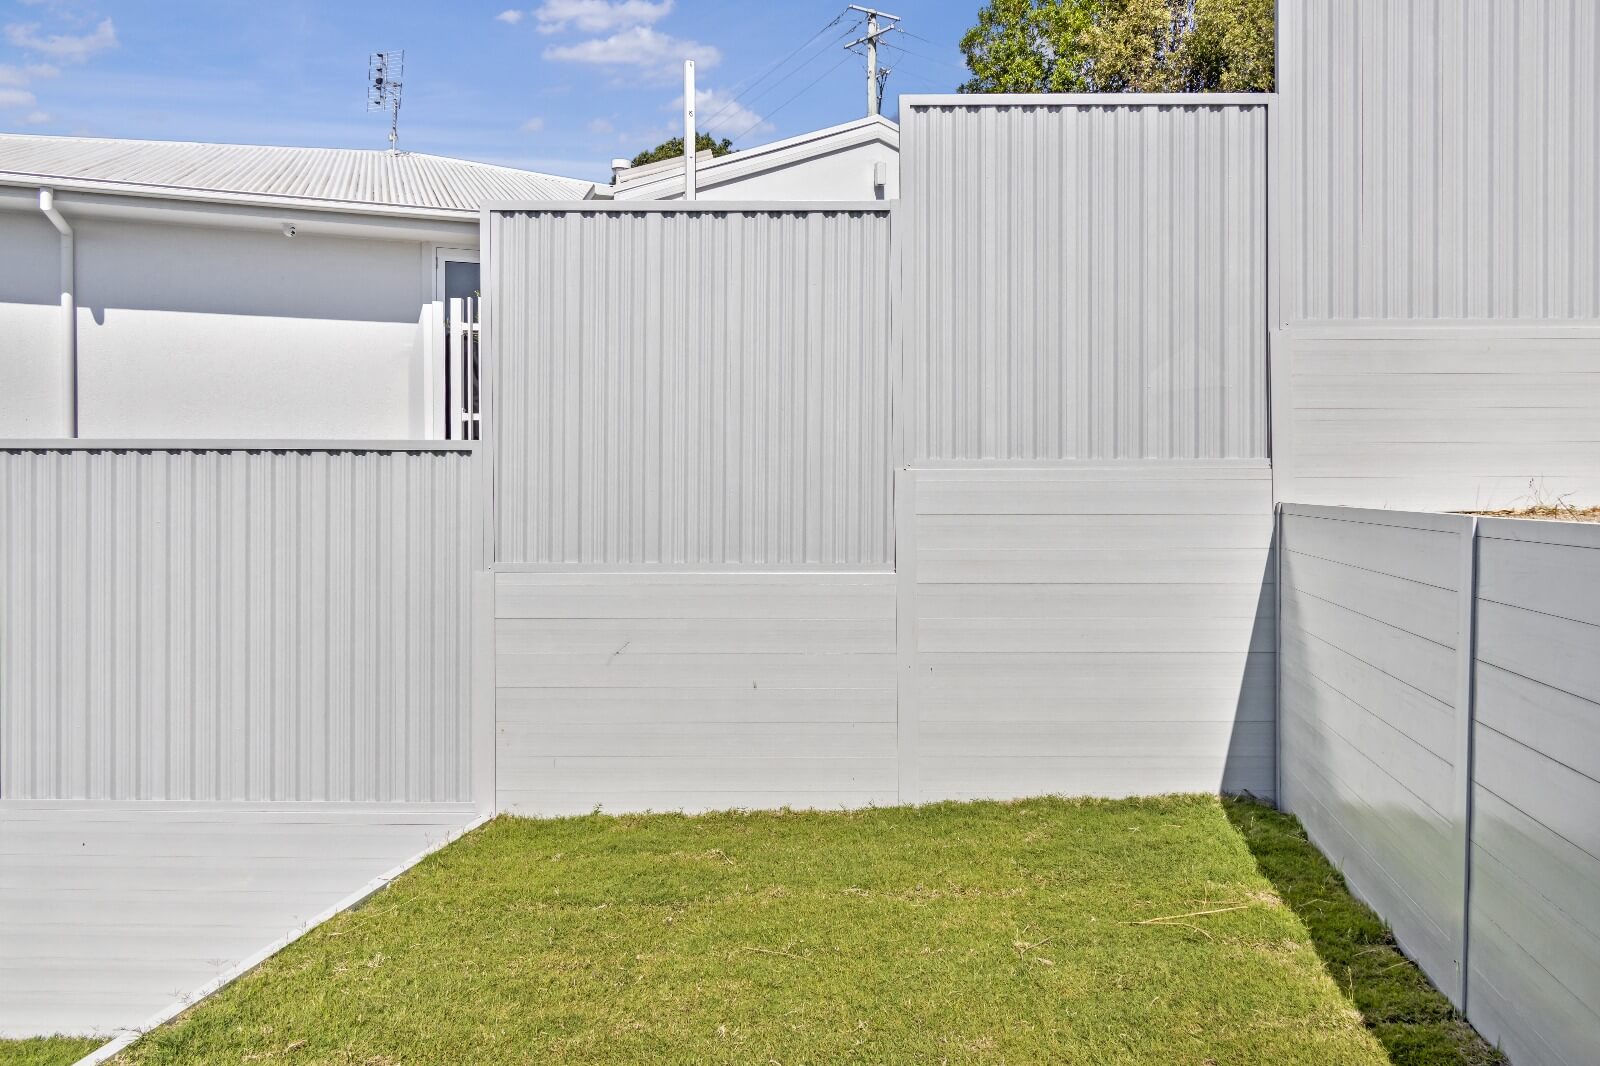
Start by positioning the lower fence panels along the prepared line.
Secure each panel firmly to the support posts, keeping every section straight, level, and perfectly aligned.
Continue the installation until the lower barrier is complete, creating a clean and durable base.
Extend the vertical posts and fit the top rails to build the upper frame.
Slide the privacy panels into place, section by section, for a seamless modern finish.
Fasten the final panels securely and make sure every connection is tight.
The result is a sleek, long-lasting fence that delivers privacy, protection, and a refined look for any outdoor space.
Get your materials, watch the videos, and build your retaining wall, fence or deck with confidence.